Ready to make your own?

Supplies:
1/2 yard stretchy lightweight knit fabric
1/8 yard contrasting fabric of similar weight
colored thread to match
Iron
Ironing board
pins
scissors
rotary cutter
ruler
cutting mat
Note: I am making a size 2T dress, adjust your sizing accordingly. Also sorry in advance about the photos - I got up very early this morning to make this dress with interruption. It was dark and the flash was too bright on almost every time.
1. Prepare to cut out the pattern pieces by first pressing your material at the correct temperature setting to remove all the crinkles and creases.
2. Cut out the following pieces from your large piece of material to form the dress:
(2) 12" x 18" rectangles (measure your gal for the shorter length- the lower band should fall above the knee for maximum ease of movement) for body
(1) 5" x 36" strip for bow
1 front pattern
1 back pattern (download them both here)

(1) 3.5"x7" for the bow center
(1) 2.5" x 60" strip for bias tape (you can sew the mateial together to come up with the length)
(2) 4.5" x 12" strips for lower hem

4. Make your bias tape - I have a step by step here but there is a much, much better one here. If you really don't want to do the work, store bought will get the job done too.

5. Next take the strips for the lower hem. Press each long side back 1/2 inch and then press in half. The ironing segment of this tutorial is now complete!

6. Using a basting stitch, sew along the long edges of the large rectangle to gather the fabric. Do not back stitch at the beginning or end of your hem. Cut the strings, leaving about 6 inches left over. You need to pull on the top string to gather the fabric further or if the gather is too tight, straighten the fabric back out. The gathered fabric should be as wide as the bodice on the top and as wide as the hem on the bottom.


7. With right sides facing, pin the strap edges of the bodice together. Pin the gathered fabric to the bottom of the bodice.

8. Open the lower hem piece and lay the gathered fabric right along the hem that you ironed over earlier. Fold the hem over so the gathered fabric is enclosed within it. Pin in place.

9. Starting with the shoulder straps, sew all the hems together using a zig zag stitch with a 1/4 inch hem. Sew the lower hem so that the bottom thread will be on the inside of the fabric.

Remember when the cast of Gossip Girl starting casually drinking Dr Pepper on every episode? In case you were wondering, they're not a sponsor. :)

10. All pieces of the dress should now be together. The next step is to sew the sides together. Make sure the right sides are facing.
11. Turn the dress right side out. You're almost done!

12. Next we pin the bias tape around the armholes and neckline. If you have a serger you could use that and skip this step or just fold over the hem and sew down. Pin the armholes first and sew with a straight stitch right along the edge that meets the dress strap. Then pin the neck and do the same. This will help avoid getting stuck with a pin.


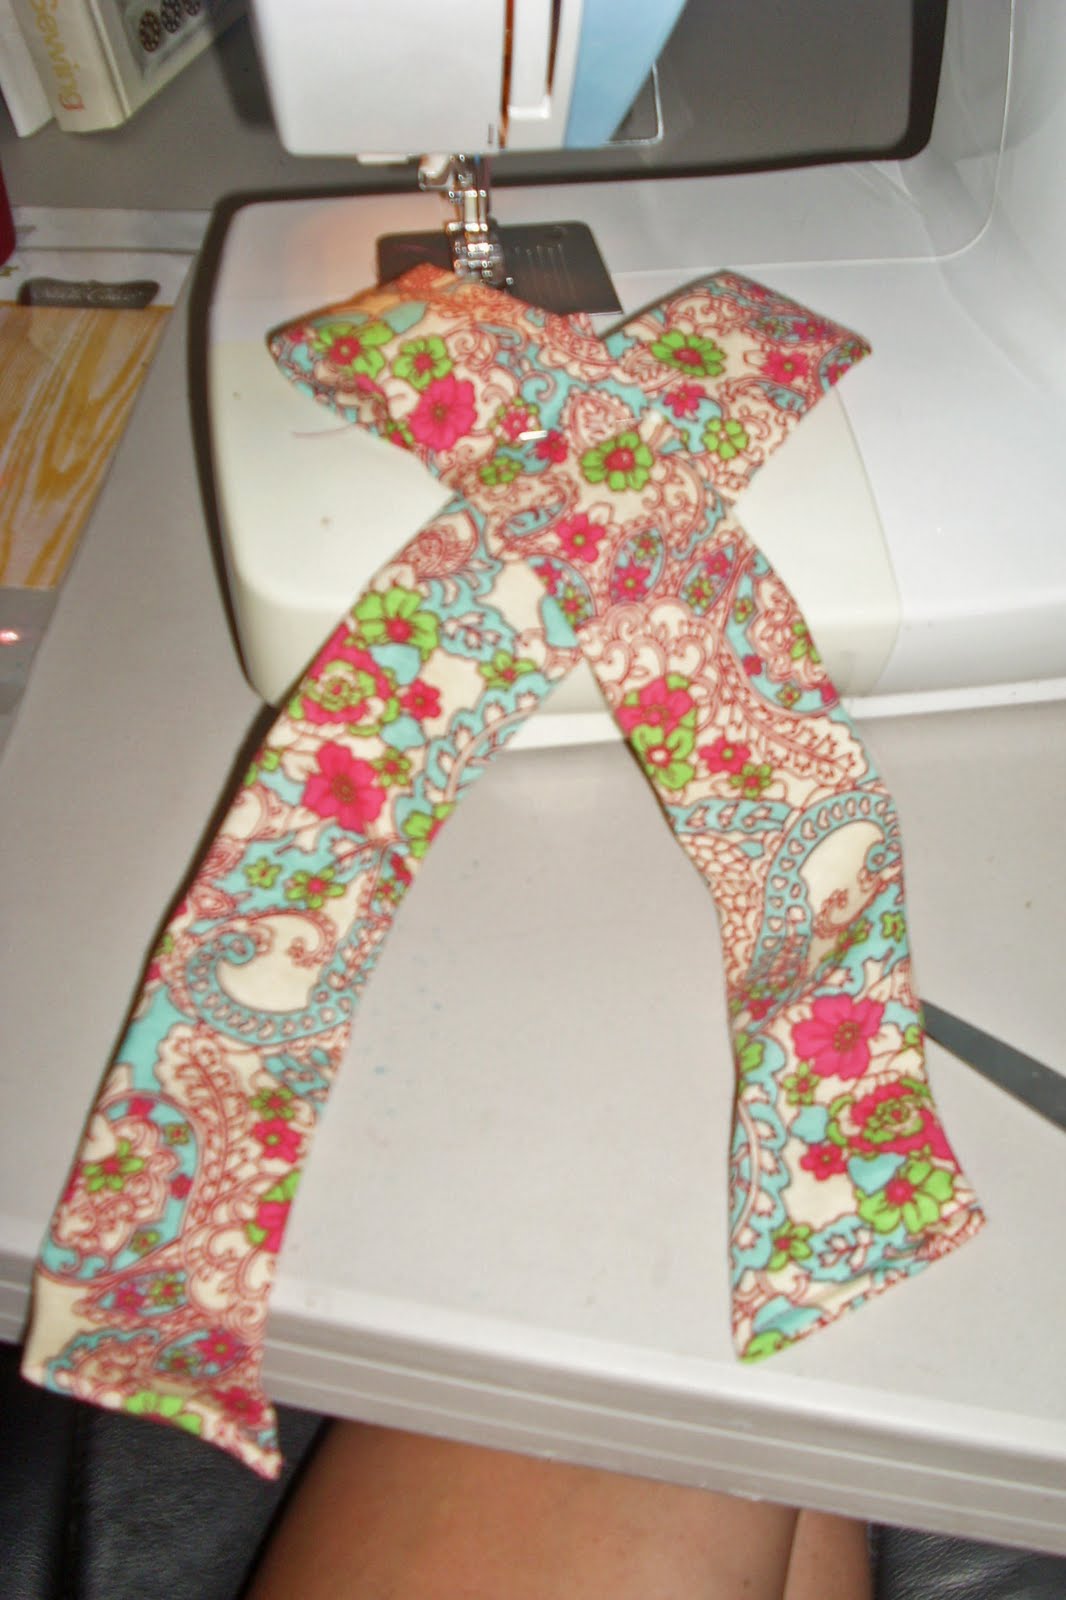
13. Now that the dress is together, find the 5x36 inch strip and sew the raw edges, right sides facing toward one another. Turn right side out keeping the seam at the center of the back. Fold the edges in at an angle and sew along that line. Form the strip into a bow shape and pin.


14. Similar to the last step, sew together the 3.5x7 inch contrasting fabric and turn right side out. Fold the edges in and hem. Now wrap the strip around the center of the bow. Pin and sew down.


15. Next pin the bow to the center of the dress and sew down. This is the last step so don't get overexcited like I did and sew right through the entire dress.

16. The dress is finished! Now go surprise some special little gal!

In the garden of imagination...


Care to kiss a toad?
4 comments:
Adorable! Wherever did you find that fabric?!
It was in the clearance aisle at Joann. $2.50 a yard!
I found you through One Pretty Thing and I really enjoy your site~I am a new follower and will be back to browse.
Katy
This is such an adorable and creative project!
Post a Comment