
If like us, you have tons of smoke bombs left over after the Independence Day celebrations, put them to good use by creating some artwork for your kid's room or playroom.
WARNING: Do not let your young kids help with this project, as there is the potential to get burned. As a parent you may even want to wear some heavy duty gloves because I did get some sparks on my hand that stung a bit.
First, gather your supplies.

You will need:
assorted colored smoke bombs
blank art canvas
colored chalk
black marker
lighter
heavy gloves (recommended)
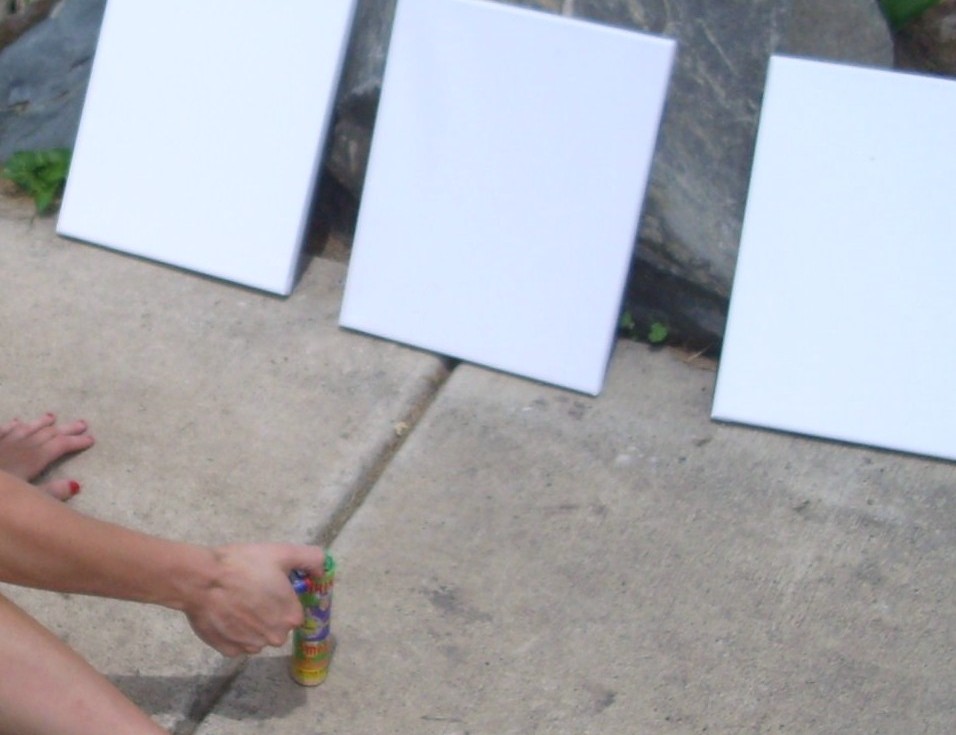
Step 1. Lay your canvases on the ground outside in an area you don't mind staining with colored smoke (the rain will eventually fade the color away)
Step 2. Set the smoke bombs near to you and light the first one with the lighter (away from the rest of the pile). You will want to start with the darkest color first - blue was the most vibrant of my selection - to avoid drowning out the other colors.
Step 3. When the fuse has finished burning and begins to emit the color, hold it at least one inch away from the canvas and color as you please. Continue with the dark color until you have the effect you like and then move to the next lightest and so on. For me, the order was blue, pink, green, yellow. Holding the smoke farther away creates a more dreamy, almost tye-died effect while holding it closer creates more solid lines and spots.
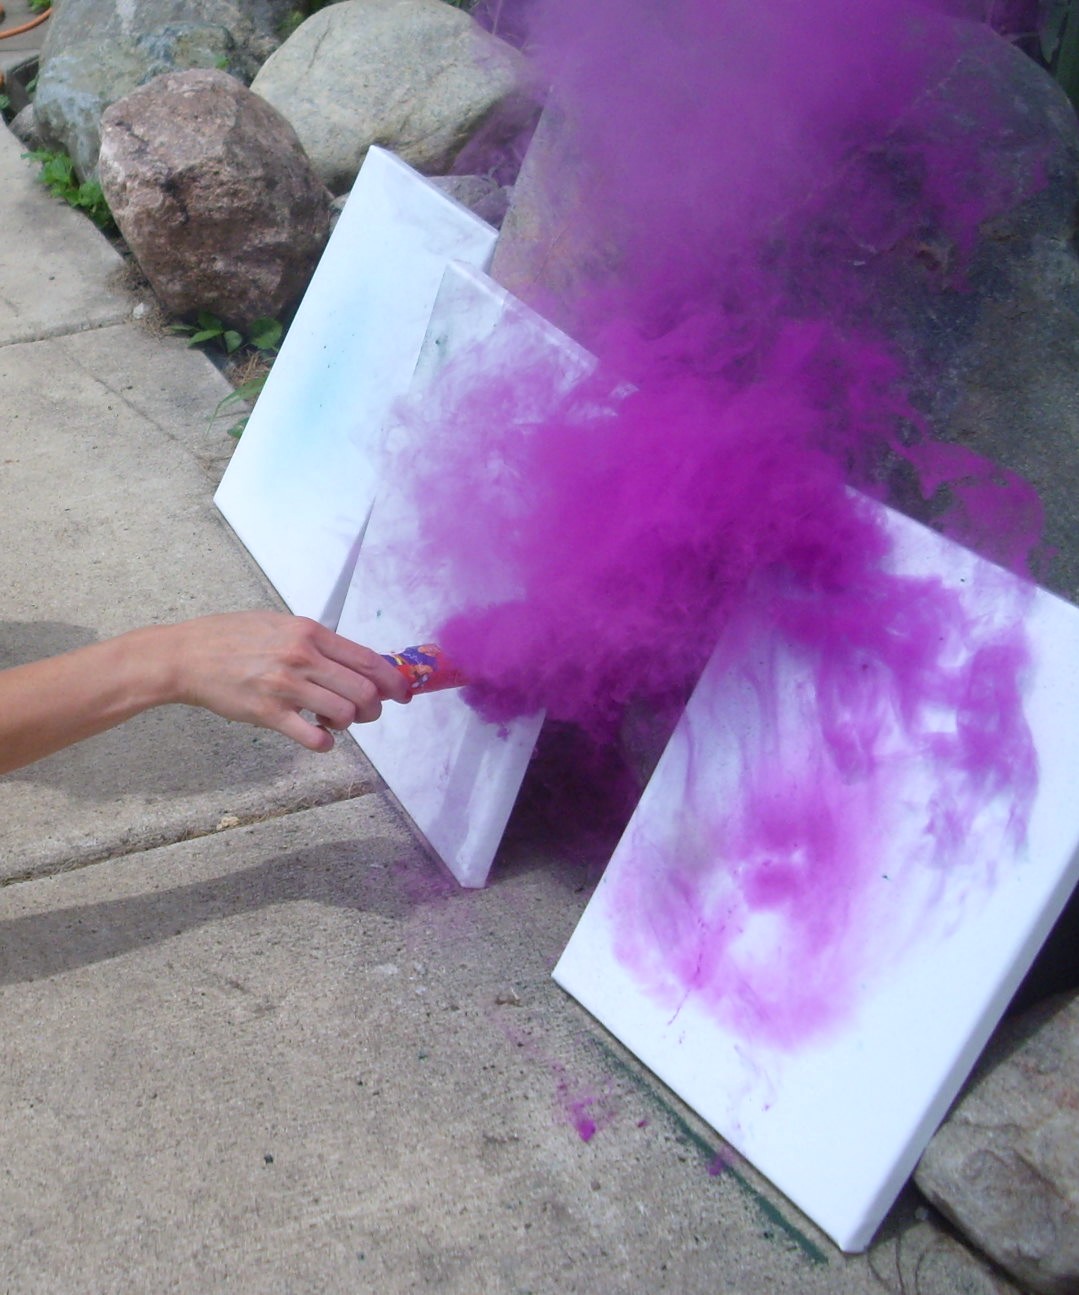


I used 4 of the jumbo 1-minute smoke bombs and about 24 of the little round ones to get the results I liked. If you plan to hang the canvases as is, don't forget to color the sides too. You could also paint the sides if you are running low on smoke bombs.
Step 4. After the canvases cool, brush off any black soot residue, lay them out and hand over the chalk so your little ones can add their special touch. To give the chalk drawings a more subtle effect, rub out their markings a bit with your hand.

Step 6. Now its your turn to use the chalk. I chose the words Explore, Learn and Discover and sketched them out in the lower right hand corner of the canvas. The ephemeral quality of the chalk is nice in case you mess up - just rub and restart.

Step 7. When you are happy with the word placement, make it more permanent by outlining the letters with a black sharpie marker.

When you are finished, your project might look something like this:

I hung it in the girls' room along with a print from etsy seller schmooks to get the effect of explore, dream, learn, discover - 4 adjectives every child should be be famililar with.


I hope you enjoy making your own! ♥
No comments:
Post a Comment