

I adore it so much and decided it couldn't be tucked away in the pages of a scrapbook - why not make one to hang on the wall as well? And photograph the process so you can make one too! After all, I can't be the only one who loves butterflies and rainbows.
So to begin, you'll need..

plain black frame (12x12)
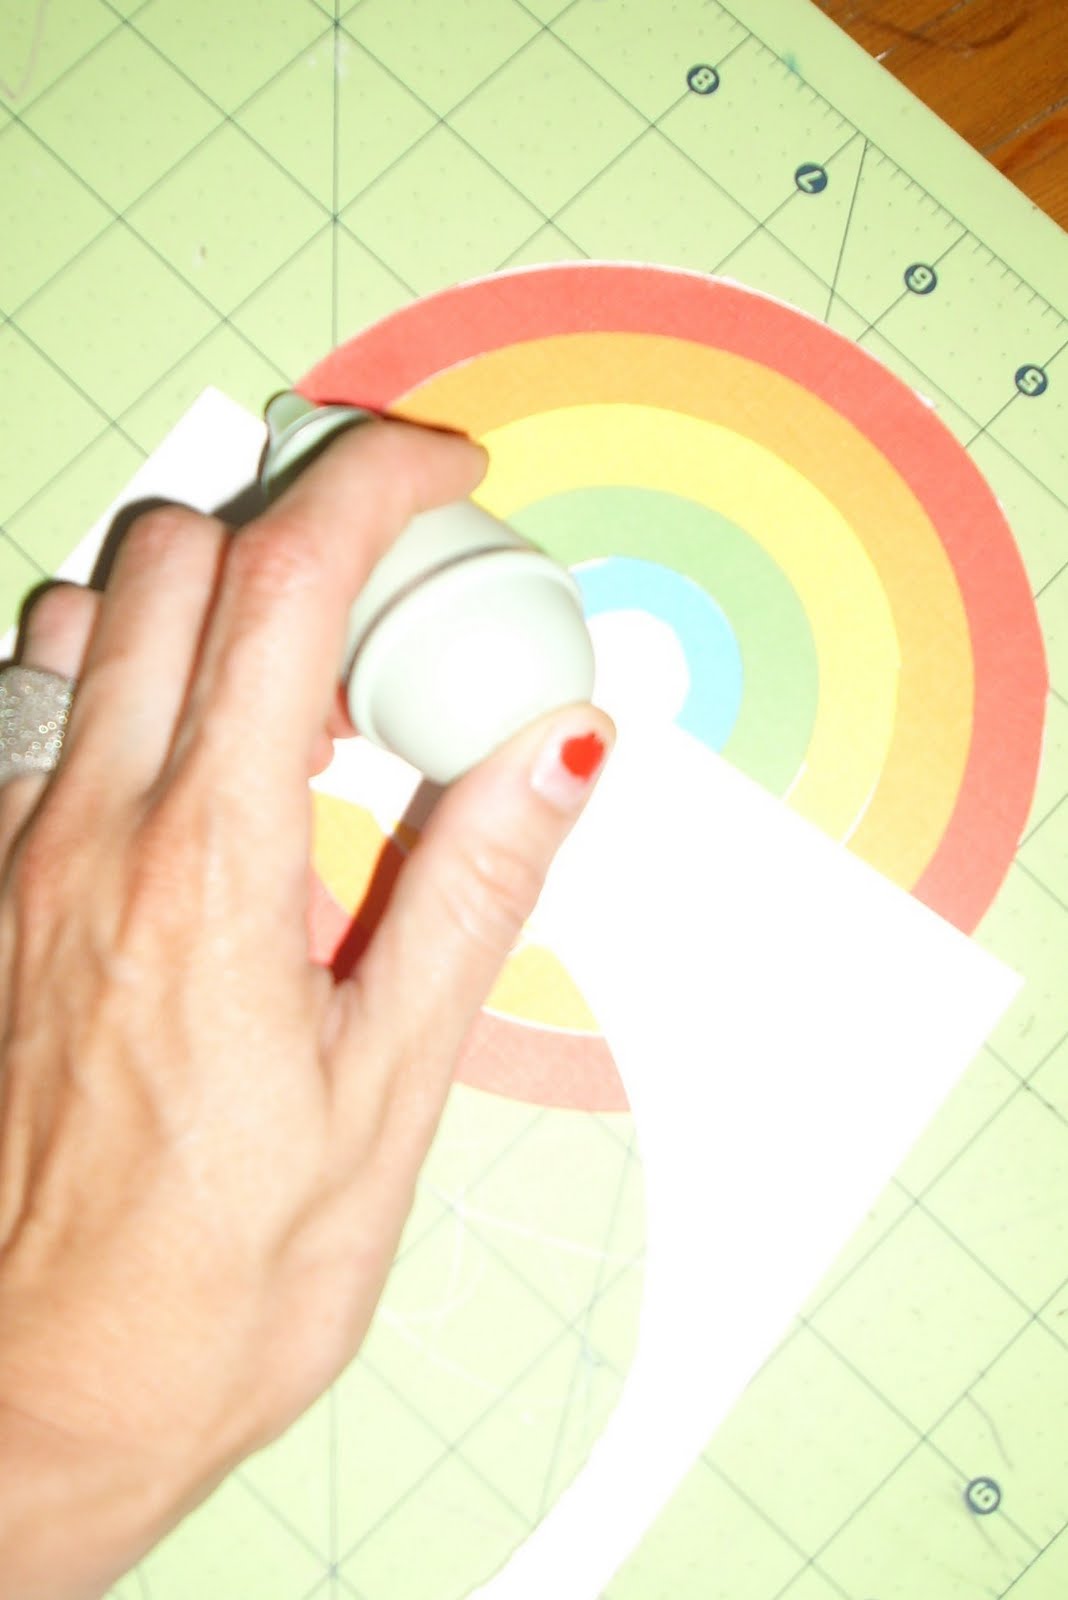
cutting mat
circle cutting template
craft knife
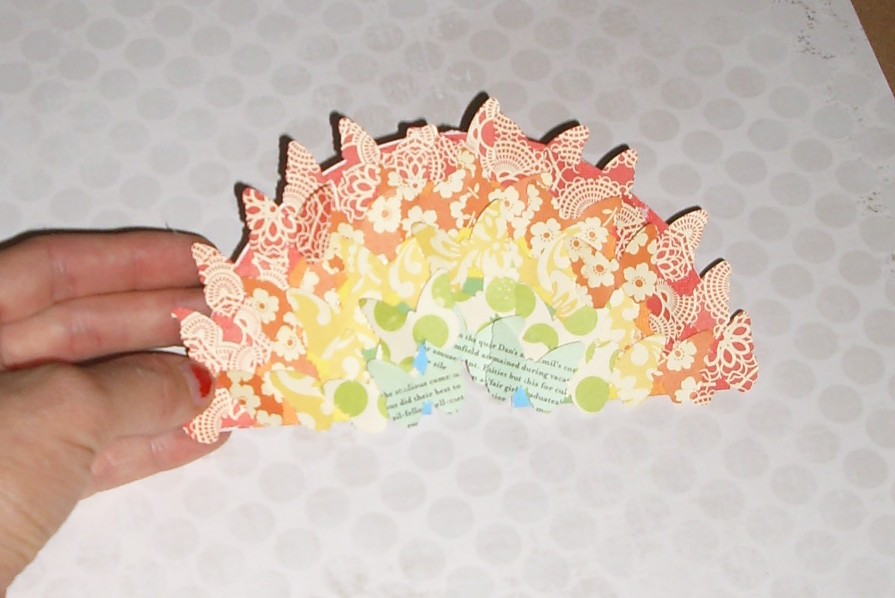
butterfly punch
2 sheets white card stock
5 solid color card stock papers - red, orange, yellow, green, blue
5 patterned papers - red, orange, yellow, green, blue
3 cloud die cuts (or make your own freehand)
glue
dimensional foam adhesive
old newspaper or cardboard
Instructions:
1. Cut a 5.5" circle from one sheet of the white card stock.
2. Using your solid red paper, use your template to cut a 4.5" circle and without moving the papers, cut a 5.5" circle around the smaller one. You will end up with 2 circles that look like this:

3. Now cut the remaining solid colored papers as above. The finished sizes should be red - 5.5, orange - 4.5, yellow - 3.5, green - 2.5, blue 1.5.


6. Next we punch out the butterflies from the patterned paper. I used 12 red, 9 orange, 7 yellow, 5 green and 3 blue. You may need more of less, depending on the placement. Bend them in half so they appear to be fluttering ;)


7. Arrange the butterflies on the rainbow starting with red and working toward the center. On each color layer, I raised one butterfly above the pack with the dimensional foam adhesive. The inside of foam letter stickers that you normally throw away works for this.

8. Next glue the other piece of white card stock to the cardboard back piece of your frame. Glue it to the side you want showing through the frame.

9. Now figure out the placement of the rainbow and clouds on the background paper. Put one piece of dimensional adhesive behind two of the clouds and adhere them to the background. Double up the adhesive behind the rainbow and glue that down so it is higher than the clouds. Stick the third cloud behind the right side of the rainbow with a single adhesive.


11. Hang and admire!
Supplies: DCWV cardstock
If you make one, I'd love to see! Please post a link to your creation in the comments or if you have any ideas on what to do with the leftover cutouts.
Goodnight!
2 comments:
So cute! I love it.
Thanks so much for the inspiration. Great instructions, too!
http://4outof6ispassing.blogspot.com/2010/08/birthday-project-butterflies.html
Post a Comment